How to Install Roll Roofing: A Guide for Handy DIY Enthusiasts
Are you looking for how to install roll roofing on a structure? Roll roofing is an easy and affordable material that is ideal for DIY enthusiasts. Check this simple guide to make your roll roofing installation your next DIY project.
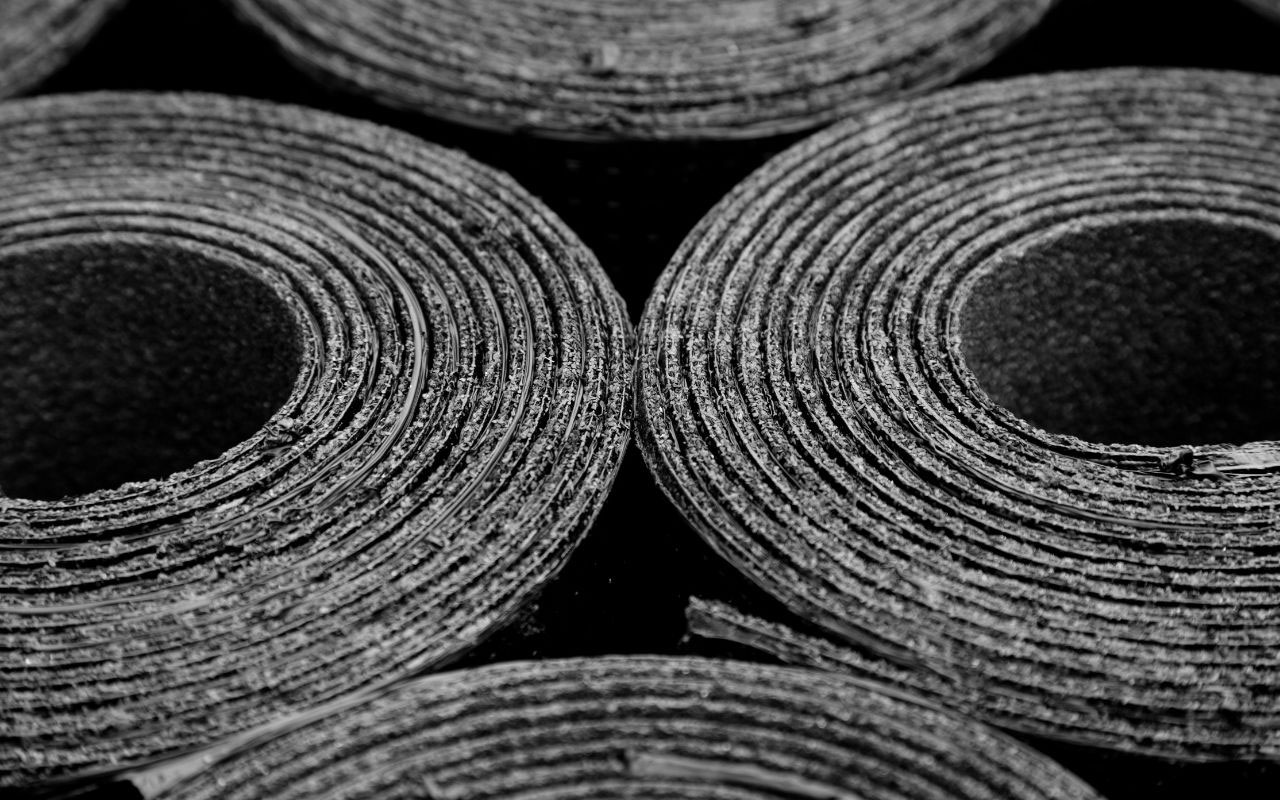
What Is Roll Roofing?
Rolled roofing, also known as MSR, is similar to asphalt shingles due to being a mineral-based roofing system. As its name indicates, it comes in rolls of 100 square feet.
When referring to roll roofing, people usually talk about asphalt rolled roofing. However, other different roofing systems come in rolls, such as rubber, bitumen, EPDM, and TPO.
Advantages and Drawbacks of Roll Roofing
In general, roll roofing it’s easier to install because it doesn’t require special equipment or training. Additionally, it’s a light material, with a usual weight of 75 pounds, which allows you to carry it yourself, without needing special machinery.
However, asphalt roll roofing is a temporary solution because it can last between 5 and 10 years. Moreover, we recommend it for unoccupied installations such as sheds, garages, workshops, or porches.
Other types, such as TPO and EPDM, can last up to 20 or 30 years and are generally used in buildings and installed by professionals.
Step-By-Step Process for Installing Roll Roofing
If you decide to pursue the project, follow this step-by-step manual on how to install roll roofing.
Before any start, take a look at the things you need to have on hand to be 100% prepared:
- Plan and measure everything ahead
- Gather all the tools and materials needed
- Prepare the material
- Prepare the roof surface
- Install the first and second row
- Last finishes
Plan and Measure Everything Ahead
Use the measuring tape to measure the entire area carefully. Afterward, you’ll know how much material to buy. Choose an installation day when the weather is over 50 degrees Fahrenheit to avoid damage due to freezing.
Gather All The Tools and Materials Needed
For the list of materials, buy enough roll roofing material. Also, purchase roof cement and flashing. Furthermore, consider buying roofing felt to use as an added protection.
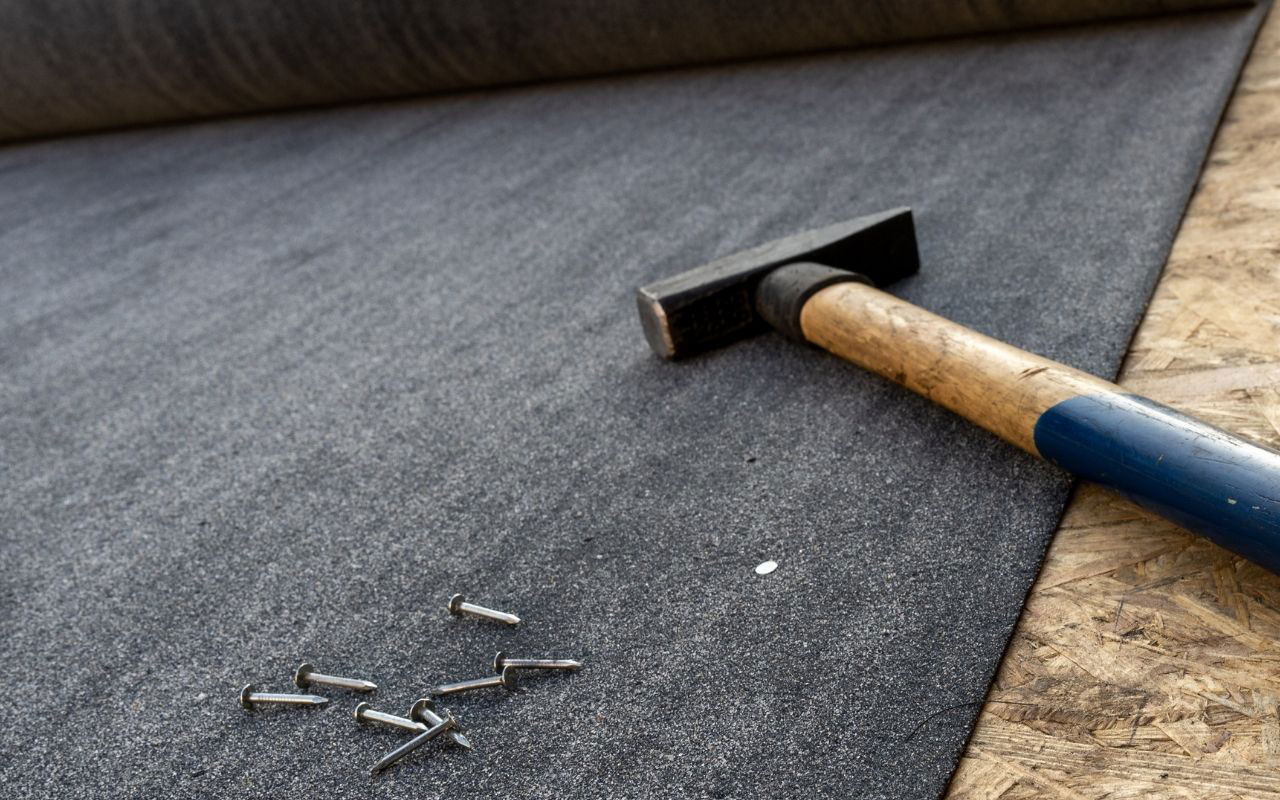
During the installation process, you may need the following tools:
- Ladder
- Roofing Nails
- Hammer
- Measuring Tape
- Chalk Line
- Razor Knife
- Trowel
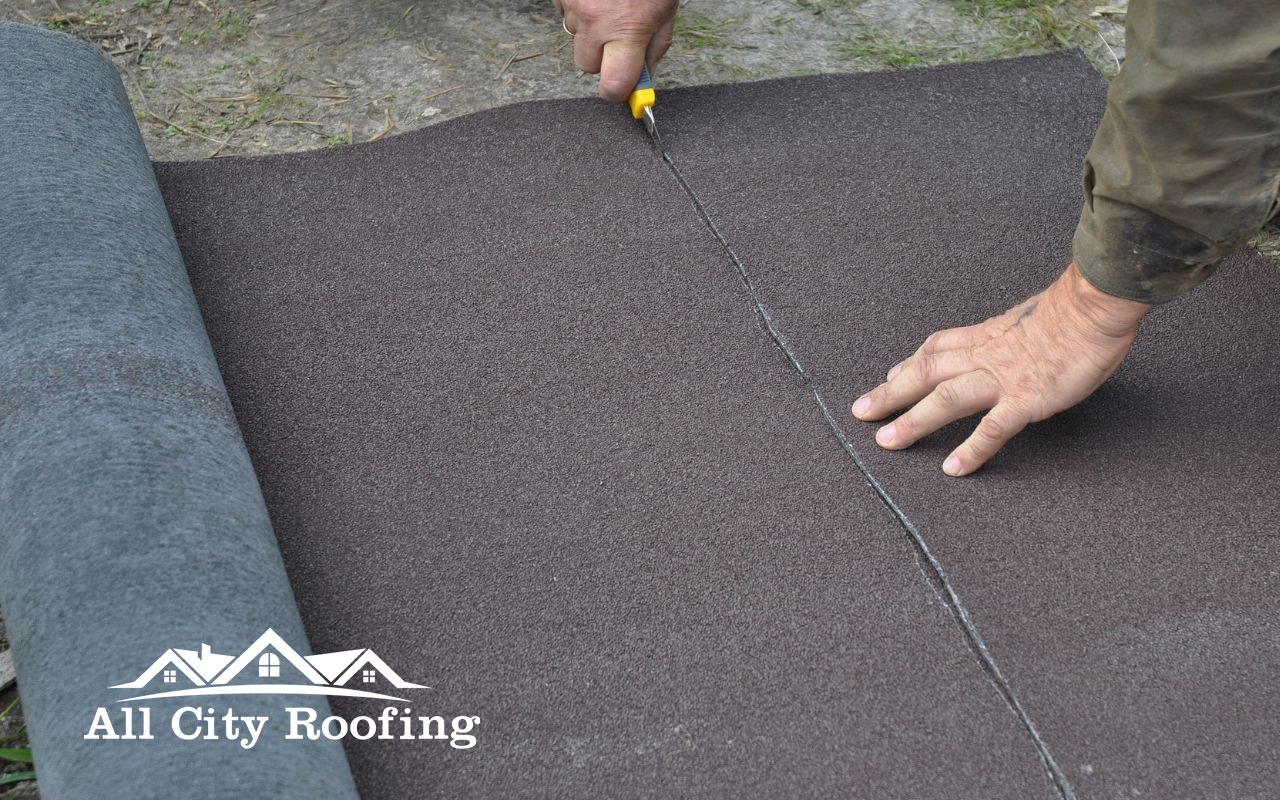
Prepare The Material
Roll roofing typically measures 35 feet long and 35 inches wide. However, you can also cut the rolled roofing into more petite strips with a razor knife to reach the desired size. You can also roll it out onto the ground, trying to keep it stretched out. Hold the corners down with heavy objects.
Prepare The Roof Surface
A well-prepared roof surface is crucial for a successful roll roofing installation. Before laying any material, take these steps to ensure a stable, clean, and durable foundation:
- Clear Debris and Clean Thoroughly
Start by removing any leaves, dirt, and debris from the roof using a broom, leaf blower, or hose (from a safe area). A clean surface ensures the roll roofing adheres properly and reduces the risk of bumps or air pockets under the roofing material. Make sure the roof is completely dry before you proceed with the installation. - Inspect for Damage
Carefully inspect the roof sheathing or decking for any signs of damage, such as rot, loose boards, or cracks. Addressing these issues before installation is essential. Replace any damaged sheathing to create a solid, reliable base for the roll roofing. - Apply Roofing Felt (Optional but Recommended)
For added protection against moisture, consider installing a layer of roofing felt. This underlayment serves as a barrier, helping to prevent leaks and extend the life of your roll roofing. Secure the felt with roofing nails or staples, following the manufacturer’s instructions. - Mark the First Row with Chalk
Measure 35 inches up from the bottom edge of the roof, then use a chalk line to mark a guide for the first row of roll roofing. This line will help keep your rows straight, ensuring a uniform look and a secure installation. - Install Metal Flashing (If Needed)
If your roof has vulnerable areas like valleys, edges, or penetrations (such as chimneys or vents), install metal flashing to create an extra barrier against water. Flashing prevents leaks by directing water away from these high-risk areas. Attach it with roofing nails and seal the edges with roofing cement for added protection. - Apply Roofing Cement for Adhesion
Spread a thin layer of roofing cement across the edges of the roof, where the first roll will be placed. Use a trowel to ensure an even application. Roofing cement helps the roll roofing adhere securely to the roof surface, preventing it from lifting or shifting over time.
Taking these steps to prepare the roof surface ensures a smoother installation and maximizes the durability of your roll roofing. A well-prepared roof can help the roofing material last longer, even with exposure to the elements.
Install The First and Second Row
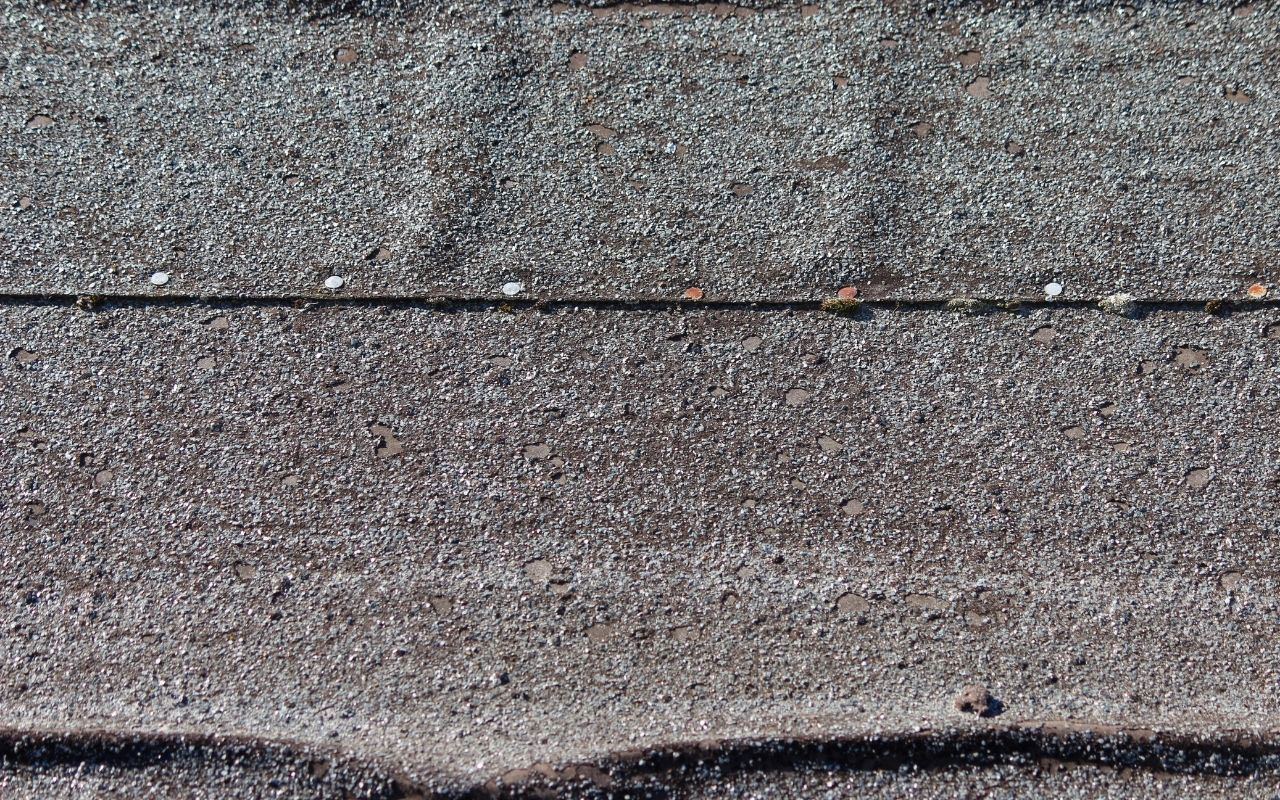
To install the first layer, you will need to place it in a way that overhangs the drip edges by about 1/4 inch. Stretch it and smooth the folds to avoid creases. Following, hammer the nails near the edges to secure it.
The second layer must overlap around 4 inches of the first one, so spread cement in the overlapping area before you place it. After setting it, nail it down to secure it. Go on with the process until you finish.
Last Finishes
Once you install the roll roofing, you can cover the nails with cement to seal them and create a good, secure finish.
Apply a layer of roofing cement about 1/2 inch (1.27 cm) thick and 4 inches (10 cm) wide across the top edge of the first row of roll roofing. The cement secures the bottom edge of the next row of roofing. Continue this process until you reach the top of the roof. Be sure to press the ends of the roll roofing into the roofing cement to secure the joint. If applicable, repeat this process on the other side of the roof.
Complete the roll roof installation by capping the top with a material layer. The cap adheres to the top of the last few rows on each side with roofing cement.
Safety Precautions for DIY Roll Roofing Installation
Before you begin your roll roofing installation, safety should be your top priority. Working on roofs can be dangerous, especially if you’re on a ladder or dealing with slippery surfaces. Here are essential safety tips to keep in mind:
- Wear Proper Safety Gear
Always wear non-slip, rubber-soled shoes to maintain traction on the roof. A safety harness, gloves, and protective eyewear can also provide added protection. - Work with a Partner
Having someone nearby can be crucial in case of an emergency. A partner can hold the ladder steady, pass tools, and assist if you need help. - Use a Stable Ladder
Ensure your ladder is sturdy and positioned on a flat, stable surface. For extra safety, secure the top of the ladder to the roof edge, and never overreach while on it. - Check the Weather
Avoid working on your roof during wet, windy, or extremely hot weather. Roll roofing installation requires dry conditions, as moisture can make surfaces slippery and difficult to work on. - Take Caution with Roofing Cement and Tools
When applying roofing cement, wear gloves to protect your skin. Also, handle sharp tools, like razor knives, carefully to avoid injury. - Avoid High Roof Pitches
Roll roofing is typically used on low-slope roofs, which are easier and safer to work on. Avoid installing roll roofing on steep pitches, as this increases the risk of slipping.
Remember, roofing projects involve working at heights, so take every precaution to ensure your safety. If the project seems too complex, consider seeking professional assistance.
Extra Tips
Install the first row of roll roofing on the bottom edge of the deck. Cut it to length using the razor knife. Lay the size of the roll roofing so that it extends the total distance and is flush with the edge of the eave drip. Press the bottom edge of the roll roofing to the roofing cement to attach it to the eave drip.
Roofing cement secures the edge of the roll roof sheathing to the eave drip around the edge of the roof.
Remember to always use the proper equipment and materials to ensure a complete and safe project. Using top-quality materials will guarantee a more prolonged and appropriate life span of your roof.
Get Professional Assistance
If you need help, you can count on the expert roofers at All City Roofing. We also provide a wide variety of services to help you with any of your roofing projects for home improvement. Call us today!
Want to see fantastic and reliable results? Contact our professionals and get the proper assistance your roof needs. We count on years of experience and guarantee outstanding results using the best technology in the industry.
Follow Us: