How to Install Standing Seam Metal Roofing
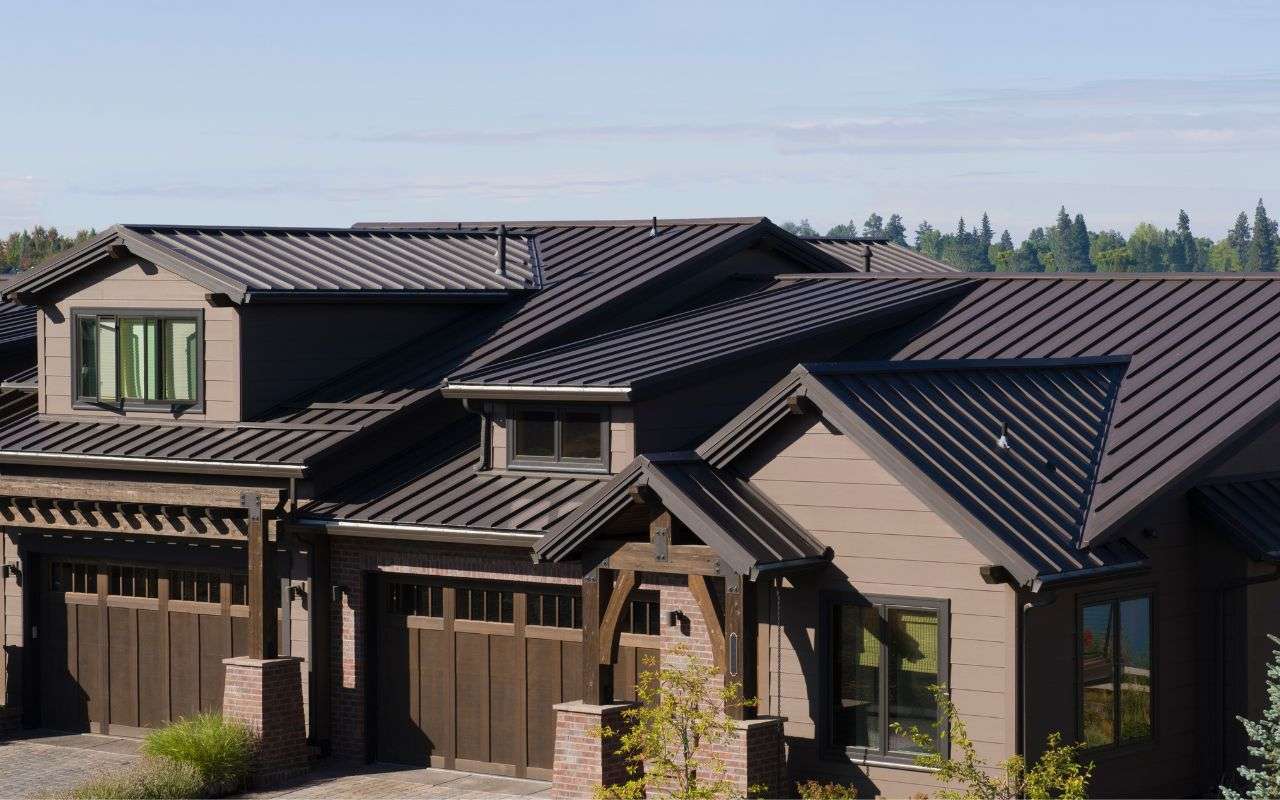
Install standing seam metal roofing can be a difficult task. If you are looking for safety and reliable roof for your home or building? A metal roof is the best option! In this blog, you will learn the proper step to install it, so your contractor can have a guide and do an excellent job.
How to install Standing Seam Metal Roofing consist of the following steps:
- Tear Old Roof
- Install lock strips at the rakes and eaves
- Put down high heat ice and water shield
- Install the standing seam metal panels
Materials You Will Need
Before starting any process, you need the following materials and tools to ensure safety and high quality roofing:
• Metal Roofing Panels
• Ice and Water Shield
• Roofing Nails
• Eave Trim
• Gable Trim
• Ridge Cap
• Sidewall Flashing
• Self-Tapping Roofing Screws
• Metal Roofing Sealant
• Inside Foam Closure Strips
• Outside Foam Closure Strips
• Butyl Tape
• Roofing Vent Boots
• Aviation snips
• Hand Seamer
• Fall Protection
• Metal Shears
• Drill/Driver
Remember, it is not only having the materials but also of high quality. As a result, you will ensure the complete durability con the roofing project.
Step 1 Tear Old Roof | How to Install standing seam metal roofing
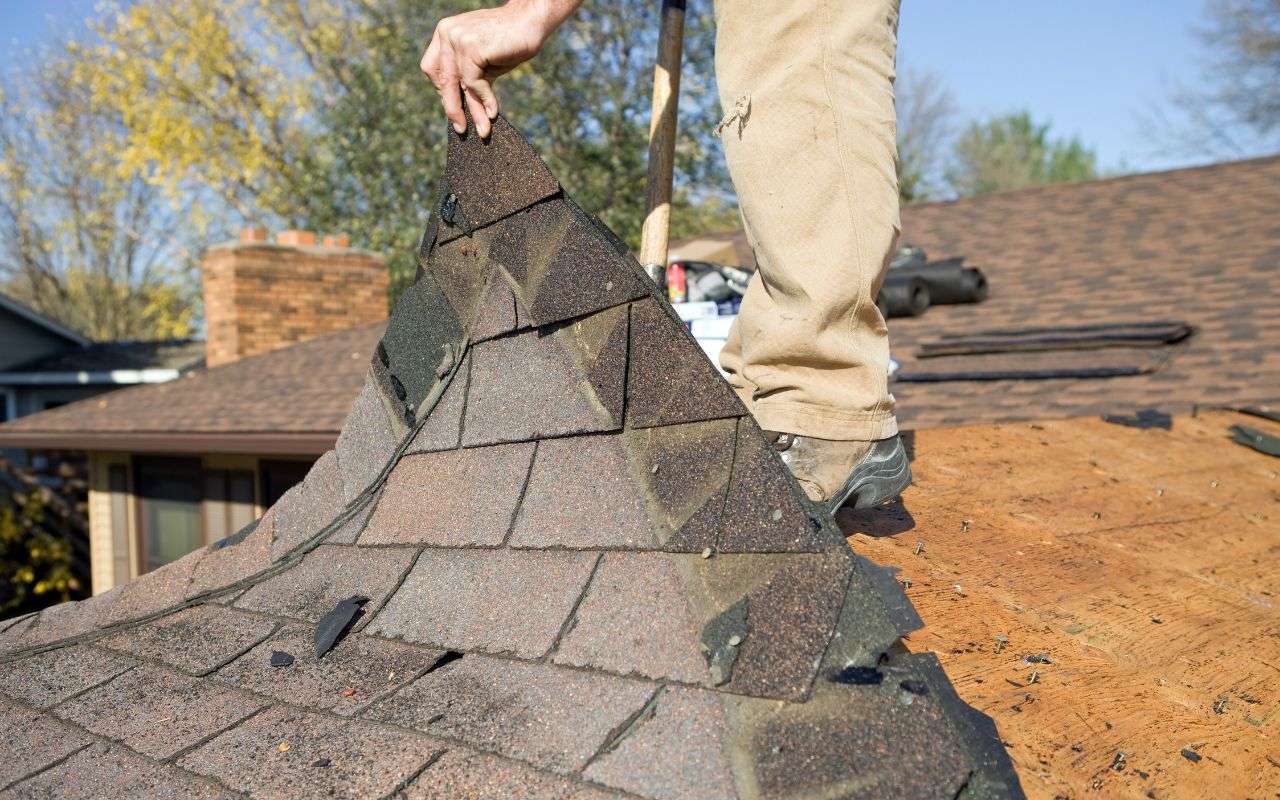
The old roofing materials should be detached to get to a spotless deck. This means your material project worker will go area by segment, eliminating old roofing materials and removing your old shingles from the rooftop’s decking.
Beginning the end farthest away from the landfill trailer, they’ll utilize great remove-going forks to tear your old rooftop by segments. While one group is removing from one area to another, one more team is ensuring the detached materials end up in the landfill trailer or the tarped landing zone in your yard.
The detach interaction is essential in the replacement process.
Step 2 Install lock strips
Lock strips hold (lock) your standing crease metal boards to your rooftop edges and hold them back from fluttering in the breeze areas of strength for or.
The lock strips will be at the overhang (base edge of your rooftop) and rakes (the inclining edge of your rooftop). Remember to make keep strips similar variety and check as your metal boards.
Step 3 Put Down High Heat Ice and Water Shield
Underlayment is normally a felt (15 lb, 30 lb, or engineered) material utilized over your decking to give extra insurance.
Be that as it may, your underlayment will be a self-sticking, high intensity ice, and water safeguard for your standing crease metal rooftop. The ice and water safeguard should be introduced over the lock strip at the roof.
Assuming the lock strip is introduced over the underlayment, the buildup under the ribs will run down the belt board behind the lock strip. This will leave lines down the sash load up when the water begins running behind the lock strip and, in the end, causes it to decay.
It’s totally critical that the underlayment is introduced over the lock strip on your standing crease metal rooftop.
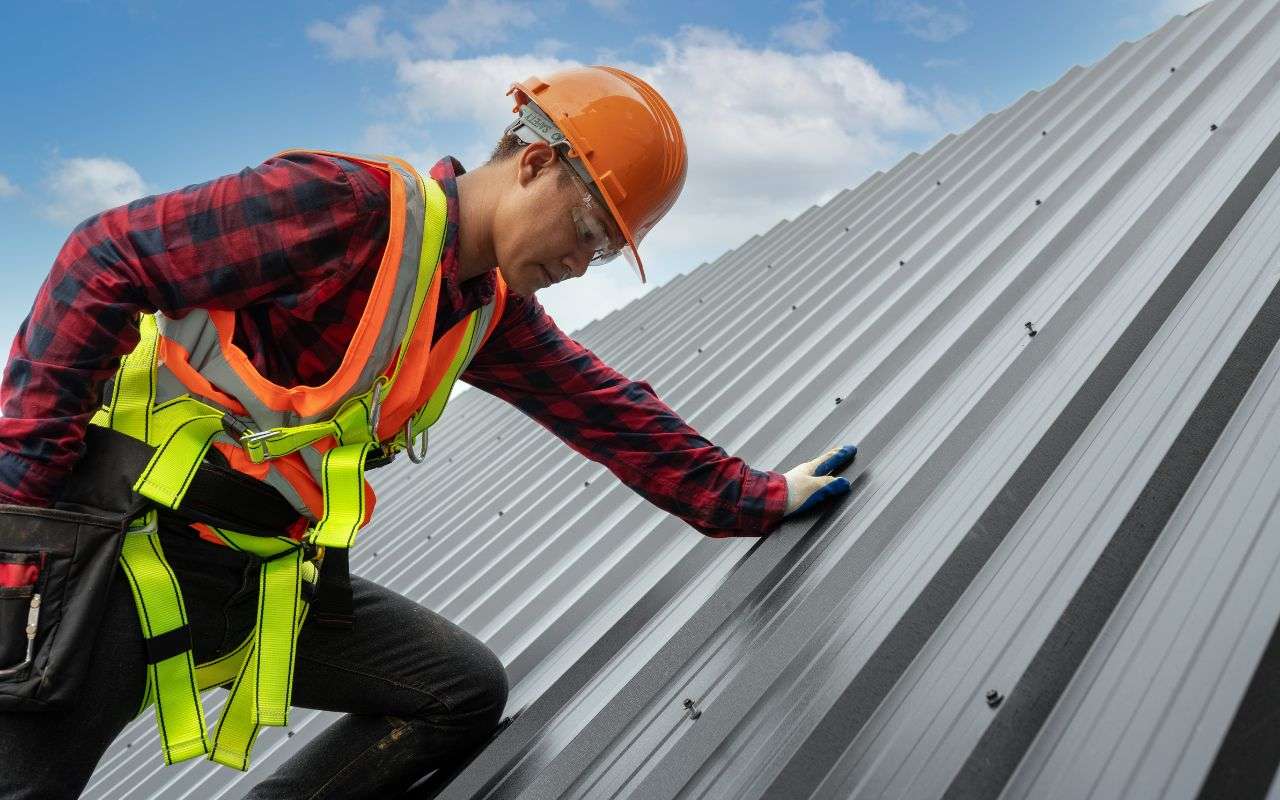
Step 4 Install the Standing Seam Metal Panels
To start introducing the metal boards, the rib of the main panel will be cut off and snared onto the lock strip at the rakes.
When the main metal panel is into the lock strips, the other metal boards are connected to one another with cuts at the ribs. Each 12 to 24 inches, these clasps will be introduced on the male (pointing upwards) part of the crease with two borer screws.
When the clasp is put over the male part, the following board comes in and snaps in on top of the clasp, affixing it to the next panel. This will go on until every one of the boards is attached together. As a result, you will have a strong roof that will last at least 30 years.
Step 5 Fill in the Gap
Once the panels are installed, it is necessary to install a piece of metal flashing to fill the spaces between the ribs of the metal panels and the ridge of the roof. This piece of flashing is a Z-bar.
A Z-bar is a Z-shaped piece of curved metal that is one-eighth of an inch higher than the ribs of the metal panels. This prevents the metal panels from coming in contact with water through the rib gaps at the top of the roof.
The installation of Z-bars is crucial to the life of your standing seam metal roof. To learn more about what influences the life of your new metal roof.
As a result, you will have a complete and safe installation in your home.
How long will last your standing seam metal roof after its installation?
Knowing these 5 steps helps you understand what your roofing contractor should do when it’s time to put on your new metal roof.
If your new standing seam metal roof is installed correctly, you can sit back and enjoy it for many years to come.
Metal roofs can last from 40 to 70 years, depending on the material used. Traditional asphalt roofing materials have an estimated life span of approximately 12 to 20 years. Remember that quality material and good workmanship will significantly influence your roof’s life.
Get Professional Assistance
Now that you know the process of installing standing seam metal roofing, you are more than ready to start the roofing project. However, if you want reliable and outstanding results, you can contact All City Roofing, which is your best option.
We count on the most experienced staff that will guarantee you complete satisfaction in all of our roofing services! Get in touch with us now and have your free quote!
Follow Us: