How to Overlap Corrugated Metal Roofing | Easy Guide
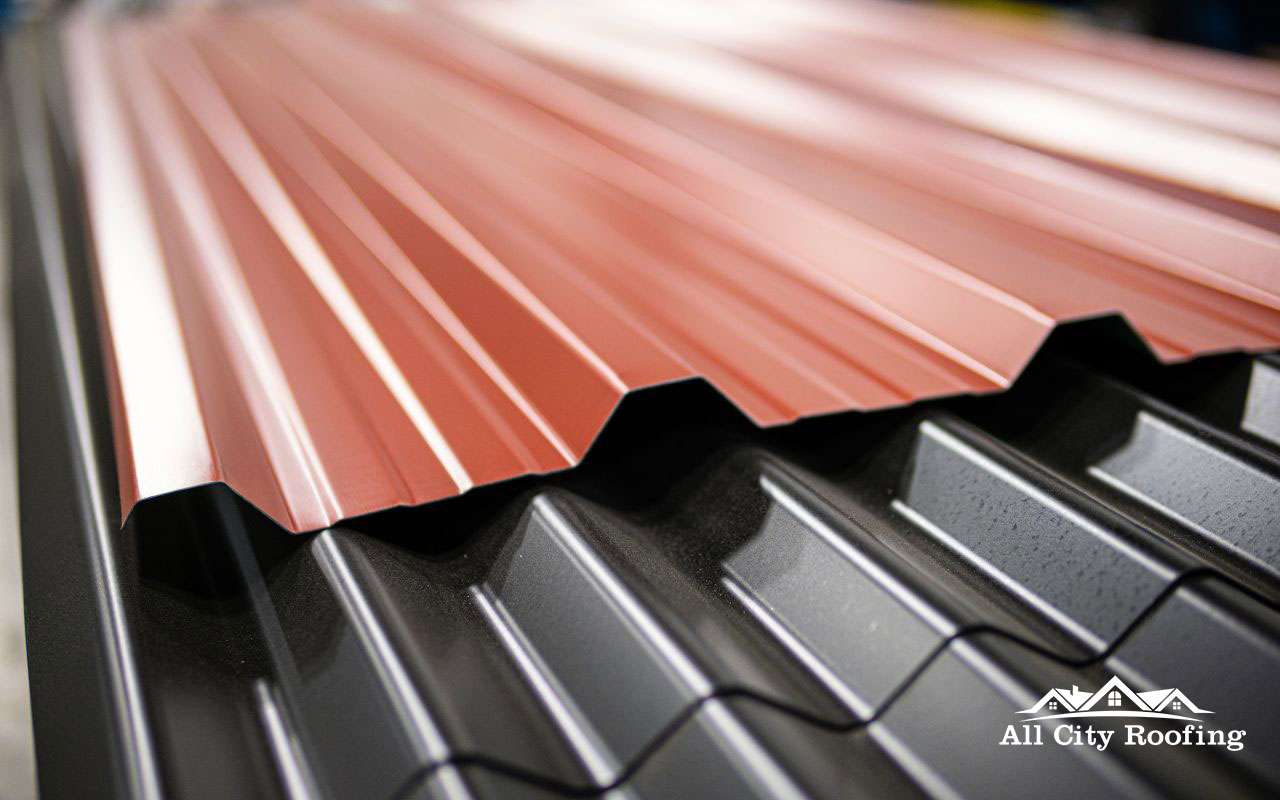
A corrugated roofing sheet is a type of roofing produced by a roll-forming machine that especially forms and designs alternating grooves and ridges for maximum strength. The shape of the corrugated roof is the main reason for its durability. Continue reading this blog to learn how to overlap corrugated metal roofing with this easy guide.
Take Into Account
- Panels using an angle grinder or circular saw. Using a 4.8 mm (3⁄16 inch) drill bit, drill holes 15 to 20 cm (6 to 8 inches) apart on the edges and sides of the panel.
- Attach the panel to the roof truss using 10″ x 2″ (25.4 x 5.1 cm) screws and polycarbonate washers. Overlap the panels at least 2.5 inches.
- Choose the right roof to let light in and keep heat out of your enclosure. Choose sheet metal for a longer life.
Materials You Will Need
To ensure better work, safety, and quality in the process, make sure to work with high-quality equipment, materials, and tools. Remember, you will need to have the following:
- Work gloves
- Safety goggles
- tape measure
- Hammer
- Corrugated sheet, either galvanized steel or tin
- Paint color (optional)
- Brush (optional)
- Polyurethane sealant
- Ridge tip
- Screw
- Washer
- Screwdriver
- Utility knife
- Roof tile
- Roof nail
- Tar paper
- Roof clip
Easy Guide on How To Overlap Corrugated Metal Roofing
Step 1 Measurement of your roof
There is an easy way to measure your roof without climbing on it. Measure the width and length and multiply. If the roof has vertices, both sides should be measured.
Each corrugated sheet should overlap the other, so you should include more than the measured number. Professional roofers recommend approximately 4 inches of overlap space. Climbing to the roof comes with many difficulties. Failure to be careful can have dire consequences. During the measurement, necessary measures should be taken to ensure safety. In other words, it is better left to a professional roofer for this risky task.
Step 2 Purchasing corrugated sheets | overlap corrugated metal roofing
Different sizes of panels can be used depending on the roof area. You have the option to purchase a 32-foot long solid slab and cut it to your preferred size. Alternatively, you can purchase precut sheets 3 to 12 feet long at a hardware store. Cutting sheet metal requires a snip, angle grinder, or saw.
Step 3 Apply Roofing Felt
The purpose of roofing felt is to provide a layer of insulation. Helpful in attaching metal roofs to outdoor structures such as patios.
Use a utility knife to cut the roofing felt to the size you measured earlier. It lies horizontally next to the roof plywood deck.
Use roofing staples to secure the roofing felts so that each overlaps approximately 4 inches. Assemble the first corrugated sheet
Start placing the first sheet in the bottom corner and work to the side.
After completing each row of corrugated sheets, proceed to a new row. Of these, the old row should overlap by about 4 centimeters.
The first sheet should be placed so that it protrudes from the edge by about 10 cm.
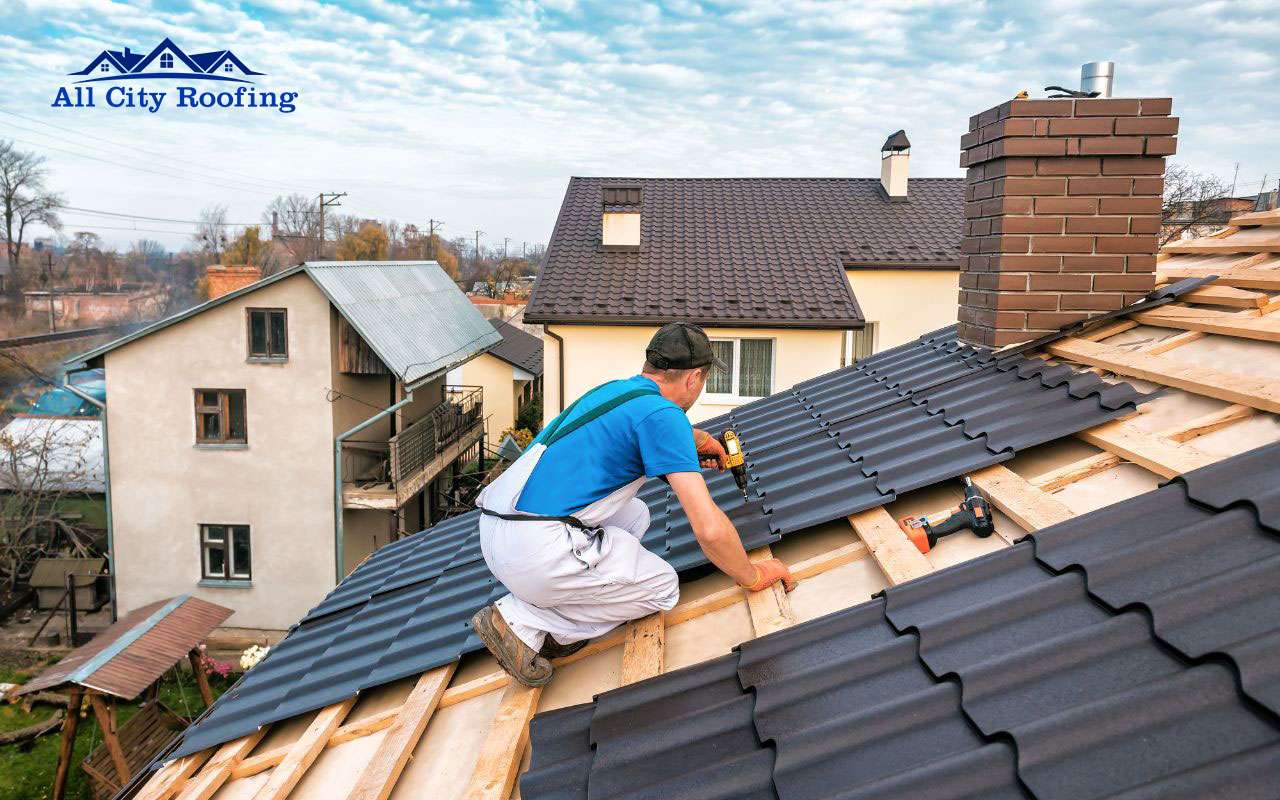
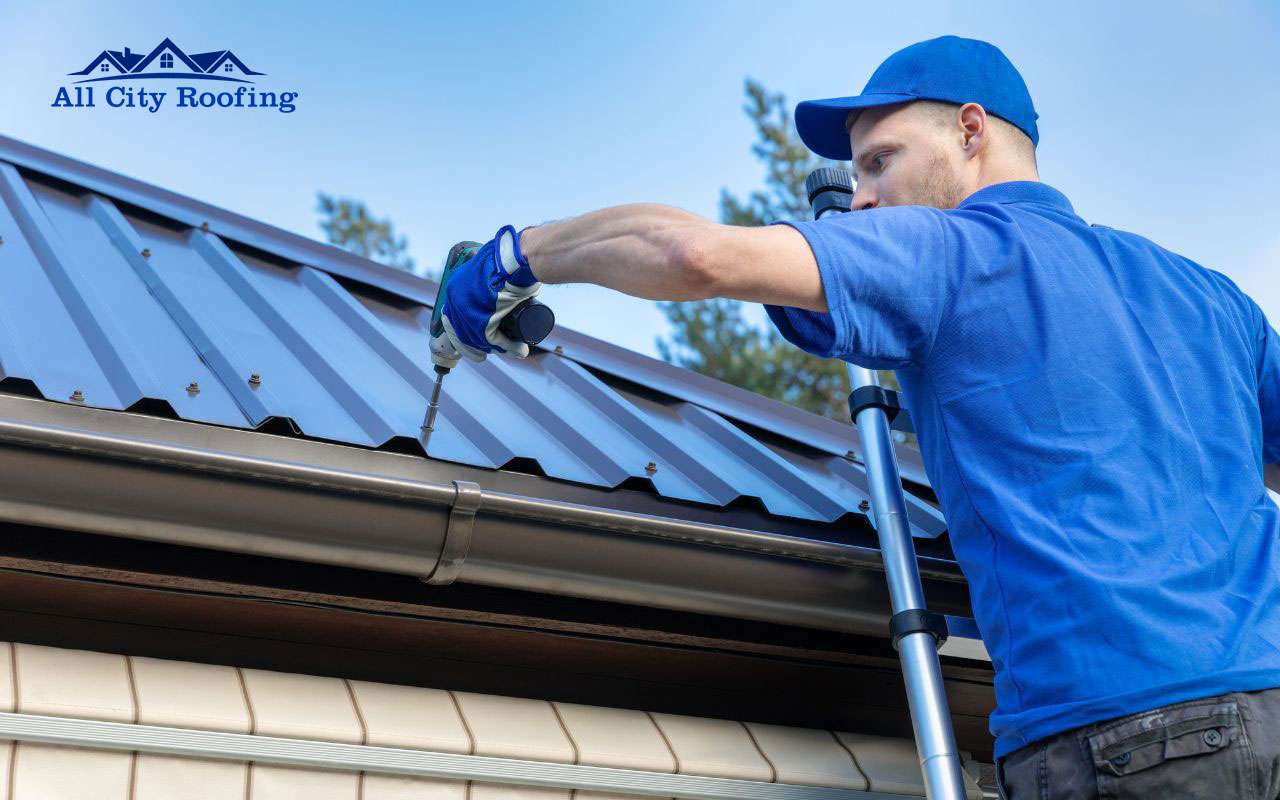
Start at the bottom and work your way up slowly until you reach the roof. Use a screwdriver to screw the washer onto the wood screw and roof plywood. The screws should be strong, but not too tight and crumple the sheet metal. The screws should be about 20 cm along the bottom and the outer edge of the sheet metal.
Step 3 End the First Line | overlap corrugated metal roofing
If you are going to install a second corrugation, make sure they overlap by about 10 cm or at least one rounded corrugation. Helps weather proof the roof. Then correctly screw in the screw at the bottom and overlap the edge of each corrugated sheet.
You may need to trim the last sheet of each row to fit the roof area. However, remember that you need to overlap. Use cable-tie scissors, an angle grinder, or a saw to cut.
You might be fine cutting corrugated roofing sheets to size using scissors or a saw, but using an angle grinder might be a little more complicated. An angle grinder is a type of handheld power tool with a sharpening stone. They are usually used for sanding, grinding, and cutting on construction sites.
Proper use is very important, and using the wrong wheel for a given task can have disastrous consequences. Here are some of the ways an angle grinder can harm you.
Step 4 Seal the Seams
Apply roofing cement or sealant to seal any exposed seams. Once done, let it dry for about 12 hours. Using the wrong roofing putty or sealant to cover potential leaks from natural elements that threaten the roof. These problems occur when they are not used properly. Possible Workarounds for Inadequate Roof Putty or Sealant
You need to make sure you apply the sealer correctly, especially to metal roof sheets. Other sealants may not adhere due to the nature of metal roofs. The sealant must be flexible enough to expand with the metal sheet without damaging the seal.
Hire Professionals to overlap corrugated metal roofing
With this guide, you can start your installation process, but remember that for the best results and excellent service, it is best to leave it in the hands of professionals. In other words, you will avoid any risk but guarantee the high performance of your roof.
All city roofing is the perfect company for you. With more than 10 years of experience, we are the best professionals for any roofing service! Contact us and get your free estimate.
Follow Us: